Anyway, for those interested, today I thought I'd show folks a bit about how I make beer at home. Beer is a lot like cooking a big stew. You boil some water, add ingredients, and in the end have something (hopefully) delicious. My process takes about 6-8 weeks between brewing and drinking, though many people do it in much less.
This little photo journey chronicles the making of a summer ale made in the summer of 2011. The recipe was not my own; it came courtesy of the Brewer's Apprentice.
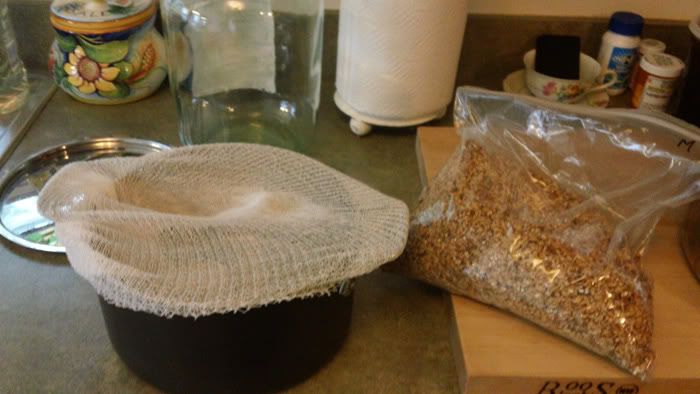
First, I had to set up what they call "specialty grains." You steep them like a tea to provide some flavor and body to the beer. What you see below are the grains I'm about to add to a grain bag.
 click for larger image
The grains go into a "grain sock," a porous bag that lets water through but keeps solids in. You steep it for 30 minutes and have to maintain a steady temperature.
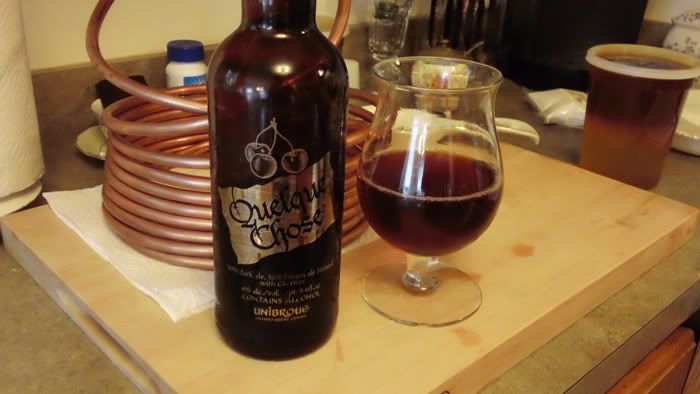
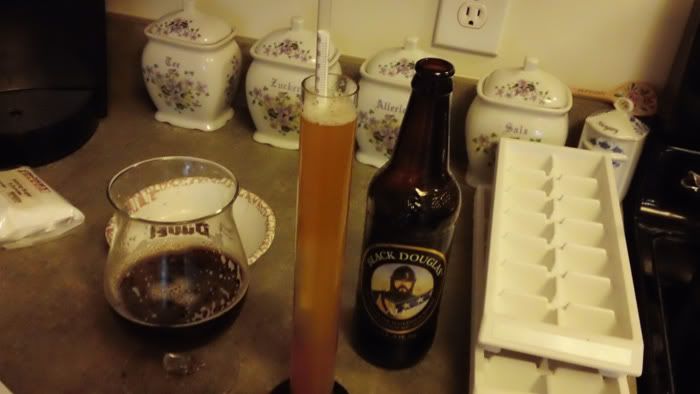
At this point you need to pour yourself a beer, because you can't make beer without drinking beer. So this is what I drank while I made this beer:
 click for larger image
That's a Quelque Chose from Unibroue. It's utterly unique, very elegant, and quite delicious.
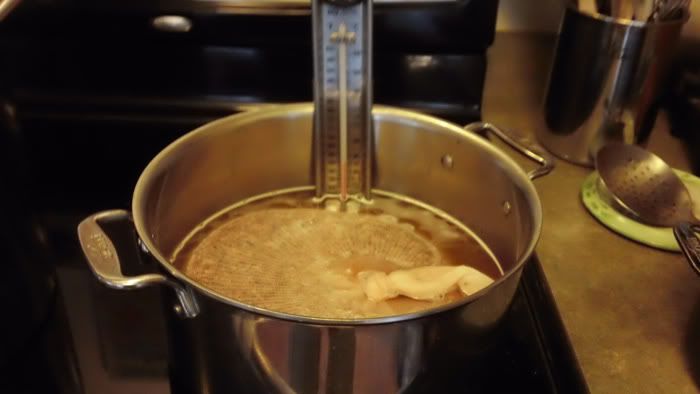
But I digress. Once the grains have been steeped, they go into a big ass pot of water that is now about boiling. "Big ass pot" is a technical term; most people call it a brew pot:
 click for larger image
I steep the grains in a separate pot in order to save time, transferring the "tea" to the main pot as it begins to boil. At the time I first started to write this post I brewed on a stove top, on an electric stove. (I've since moved on to an outdoor burner not unlike a turkey fryer.) It takes a long time to bring several gallons of water up to a boil on my stovetop, so while the grains steep I'm also heating up the big pot. This cuts upwards of 30-45 minutes off my brew day.
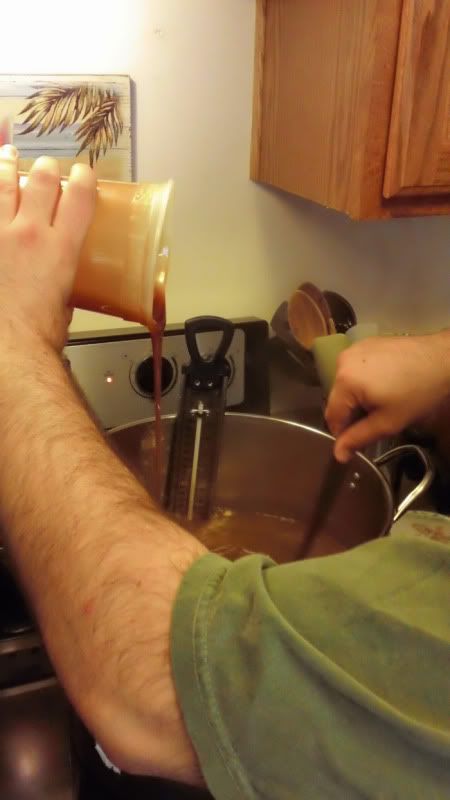
Okay, next I add some malt extract. Extract comes in the form of a syrup and is essentially all the barley and such pre-prepared to the point that you just need to boil it. I'm an extract brewer, which means I don't mess with milling grain and all that other stuff that the hardcore homebrewers do. You get more control and the potential for a greater variety of beer if you do all grain, but you know what? Forget that! You can make great beer as an extract brewer; you can design hundreds of awesome beers; and your brew days will be hours shorter. Plus, I'm just not yet equipped to brew all grain, nor do I have the space. One day, but for now, in goes the extract.
 click for larger image
Now here's the good stuff. Beer has hops, a vine related to cannabis. (Really!) Hops are the 'spice' of beer. They contribute flavor -- you'd be surprised at how much different hops can change the taste of your beer -- and more importantly, they contribute bitterness to counteract all the sugars that make up the beer. Without hops, beer would be sickly sweet. Though you can use the actual buds from the hop plant, these days most hops come in the form of pellets, as you can see here:
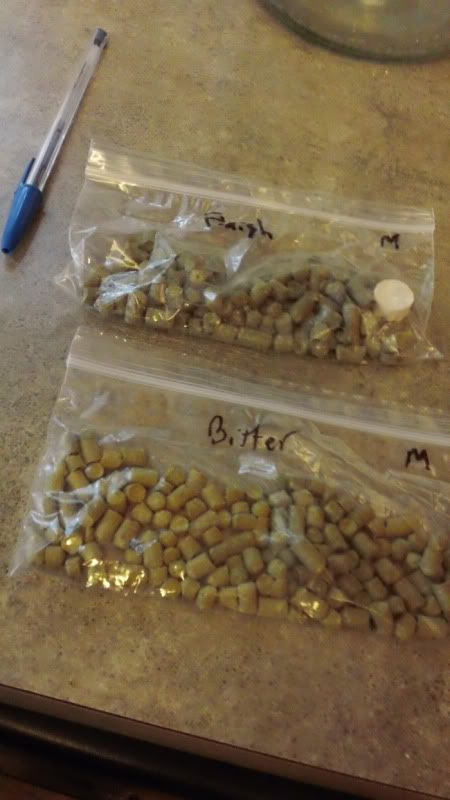 click for larger image
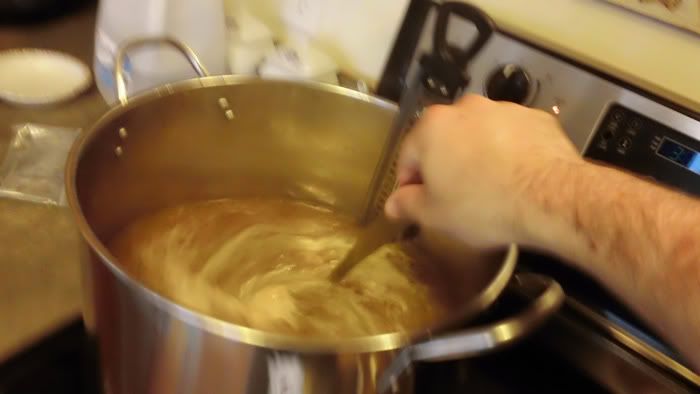
The first hops to go into the pot are the bittering hops. They need to be boiled for an hour to extract all the bitter goodness from them, so you dump, and stir stir stir stir for the next hour. Fun!
 click for larger image
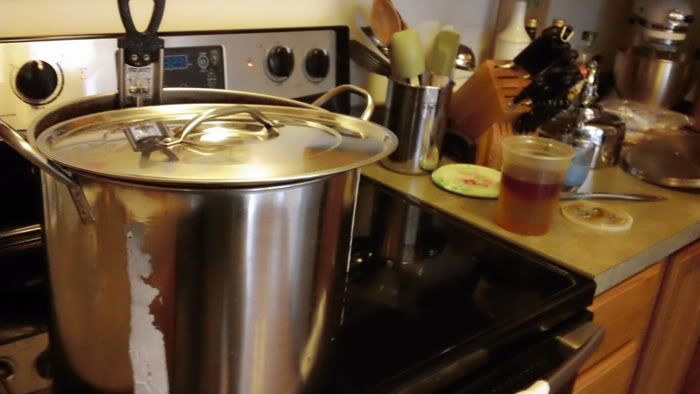
The wort -- that's what the unfermented concoction you're making is called -- must boil for a while not just to extract the bitterness from the hops, but also to sterilize the malt. You don't want funky stuff in your beer. Because I currently brew on an electric stovetop (I hope to convert to an outdoor propane burner later this year), it's very difficult for me to keep several gallons at a rolling boil. (UPDATE: I no longer brew on a stove; I'm brewing on a propane burner now.) Because it's so hard to keep a boil on my stove, I keep the pot lid partially on. Only partially because you need to boil off some components of the wort. It's a chemical thing I won't bother to go into here:
 click for larger image
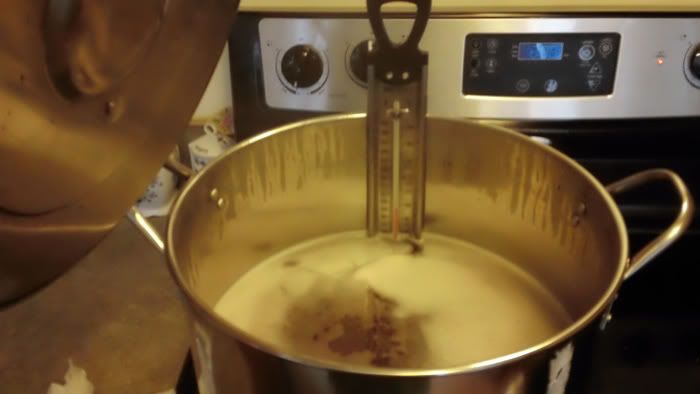
You boil this bad boy for an hour. In the last 15 minutes or so you usually add another dose of hops. These are "finishing hops," and they contribute flavor and aroma to your beer. If you've ever noticed the floral pine smell or citrus aroma of a hefty India Pale Ale (IPA), what you're smelling is the finishing hops. I also add the second half of my malt extract at this stage:
 click for larger image
So after about an hour, you're done cooking the slop that will become beer. Now you need to cool all that not-yet-beer down as fast as you can. I do a combo ice bath and wort chiller. Below I'll explain what a wort chiller is. For now, it looks sort of like this:
 click for larger image
All those tubes and cooper, that's the wort chiller. It goes into your wort. You pump cold water through the copper. As the water passes through the copper tubing, it picks up heat from the wort and draws it out. Cold water goes into the tubes, hot water comes out, cooling your wort the entire time. Pretty cool, and one of the best investments a homebrewer can make. Used to take me more than an hour to cool the wort down to the proper temperature. Now I can accomplish the same in 20 to 30 minutes -- and that's a good thing, because rapid cooling makes for a better, more stable product.
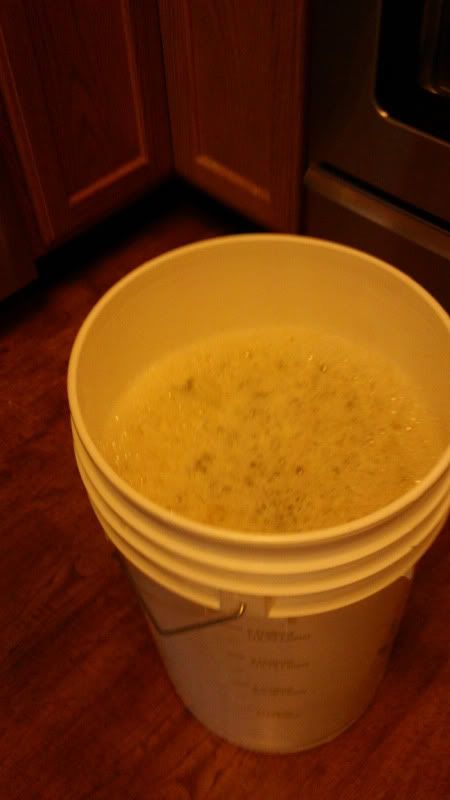
Once the not-quite-beer (wort) is cooled to the proper temperature, you move it to your fermentation vessel. This can be giant steel conical fermenters, large glass carboys, or in the case of many homebrewers, food grade plastic buckets. That's what I use:
 click for larger image
After that you do some science on your beer (while having another beer):
 click for larger image
That tube thingee filled with not-quite-beer (wort) and a thermometer looking thingee sticking out is a hydrometer. It measures the "gravity" of liquid, or in layman's terms, how much "stuff" is in your wort. You measure now to determine how much fermentable sugar is in your beer and to see if your wort is the appropriate gravity reading for the kind of beer you're brewing. When the beer is done fermenting, you take gravity readings again to see if it's truly done fermenting and how well it fermented. Using those two figures you can also calculate the alcohol content of your beer. (This one was a fairly light summer ale, and based on my records came in at about 4% ABV. A light beer, essentially.)
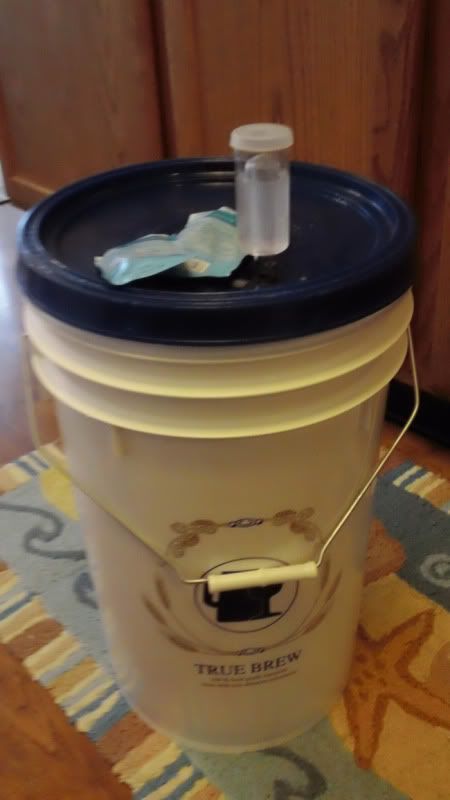
After that you shake the hell out of the wort to get oxygen into it -- yeast like oxygen in the same way I like tacos -- then you add your yeast. The yeast will eat up all the sugars, burping out carbon dioxide (the dodad on top of the bucket is an airlock, which lets the CO2 escape) and converting that liquid to alcohol. So this bad boy sits around your house for a few weeks:
 click for larger image
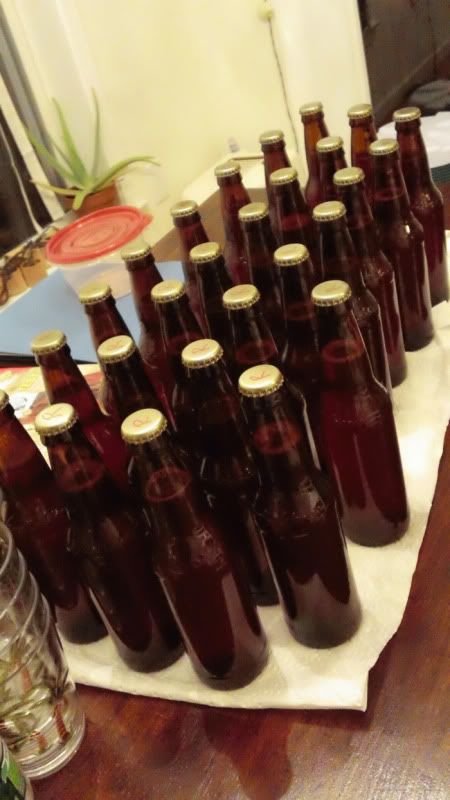
Sometimes those things can blow, but if you're careful it's not a danger. You come back a few weeks later for your bottling process, which results in a pretty row of freshly-bottled homebrew like so, roughly two cases per five-gallon batch:
 click for larger image
It will be swell. Usually. Sometimes.
And that's how Eric makes beer.
No comments:
Post a Comment